kali ini saya mencoba membuat Appliace untuk Server Video Player seperti Youtube , dengan menggunakan Applikasi PHPMotion , saya menginstall di Ubuntu 12.04 LTS 64 Bit di dalam VM ,
Installasi :
1. Instalasi System Ubuntu 12.04 di Virtualbox , tutorial
Setting /etc/hosts,/etc/hostname , /etc/resolv.conf
kemudian apt-get update
2. Login sebagai root
sudo su
3. Install Paket untuk Phpmotion
apt-get install apache2 mysql-server php5 ffmpeg flvtool2 mencoder lame libogg0 php5-ffmpeg php5-curl curl libapache2-mod-php5 php5-mysql lynx-cur libapache2-mod-speedycgi
Hasil File download paketnya sekitar 230 MB , tunggulah dengan sabar :)
4. Download phpmotion di phpmotion.com ( masukan alamat email untuk download)
sebelum download pastikan versi PHP anda
buat file info.php simpan di var/www
<?php
phpinfo();
?>

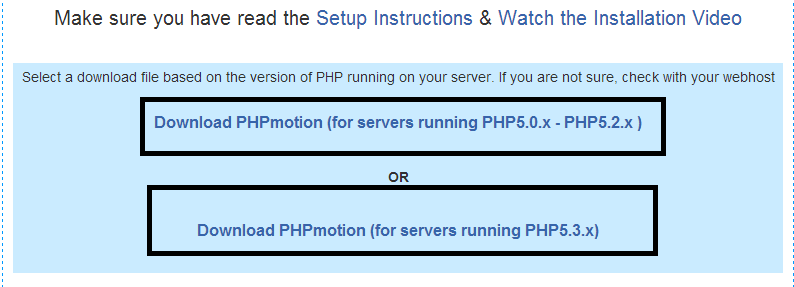
Download sesuai versi PHP anda ,
5. kemudian simpan file download phpmotion di var/www/
unzip phpmotion.zip

chown -Rf www-data.www-data /var/www/phpmotion
7. Ubah Permission
chmod -Rf 744 /var/www/phpmotion
chmod -Rf 755 /var/www/phpmotion/cgi-bin
8. Setting konfigurasi php, edit file "/etc/php5/apache2/php.ini"
edit menjadi seperti berikut:open_basedir = (no value)
upload_max_filesize = 100M
post_max_size = 100M
max_execution_time = 1500
session.gc_maxlifetime = 14000
safe_mode = off
enable_dl = On
lalu ketik perintah : php -i|grep php.ini
/etc/php5/cli/php.ini tambahkan extension dibawah ini ke file etc/php5/apache2/php.ini dan etc/php5/cli/php.ini di urutan baris paling bawah .extension = "ixed.5.3.lin"
extension_ts = "ixed.5.3ts.lin"
9. nano /etc/apache2/sites-available/default

<VirtualHost *:80>
DocumentRoot /var/www/phpmotion
<Directory /var/www/phpmotion/>
Options Indexes FollowSymLinks MultiViews
AllowOverride All
Order allow,deny
allow from all
</Directory>
ScriptAlias /cgi-bin/ /var/www/phpmotion/cgi-bin/
</VirtualHost>
10. Buat database untuk phpmotion
mysql -u root -p
create database phpmotion;
exit;
 11. Edit "/var/www/phpmotion/.htaccess" tambahkan text
Options +ExecCGI -MultiViews +SymLinksIfOwnerMatch
diatas text RewriteEngine On
Aktifkan modul rewrite
a2enmod rewrite
Restart service apache
/etc/init.d/apache2 restart
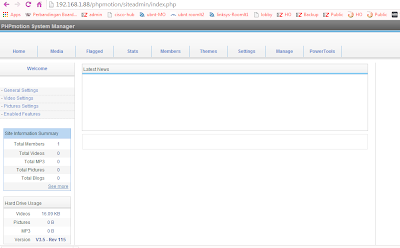
12. buka Ipaddress_phpmotion atau server saya di 192.168.1.88/phpmotion/setup/


13.


14.


15.


16.


17 . Hapus file /var/www/phpmotion/setup
rm -r /var/www/phpmotion/setup Buka ipserver_phpmotion , apabila muncul error seperti dibawah ini :

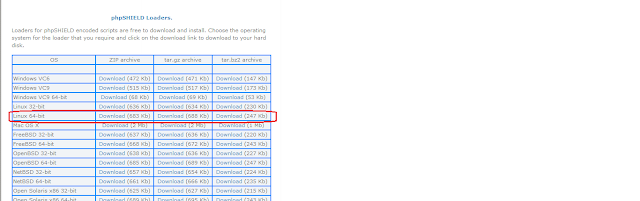 pilih sesuai linux 64 bit anda , download , Unzip ke /usr/lib/php5/20090626
atau bisa dicek lokasi nya dengan perintah : php -i|grep extension_dir

service apache2 restart

ikuti panduan ini : Lihat Panduan ini !!!
karena saya install di linux ubuntu 64 bit , maka anda musti download file phpshield di http://www.phpshield.com/loaders/

karena saya install di linux ubuntu 64 bit , maka anda musti download file phpshield di http://www.phpshield.com/loaders/


atau bisa dicek lokasi nya dengan perintah : php -i|grep extension_dir

service apache2 restart


silahkan dicoba ...upload image , video anda :)
Taufan M|email_me
Comments
Post a Comment